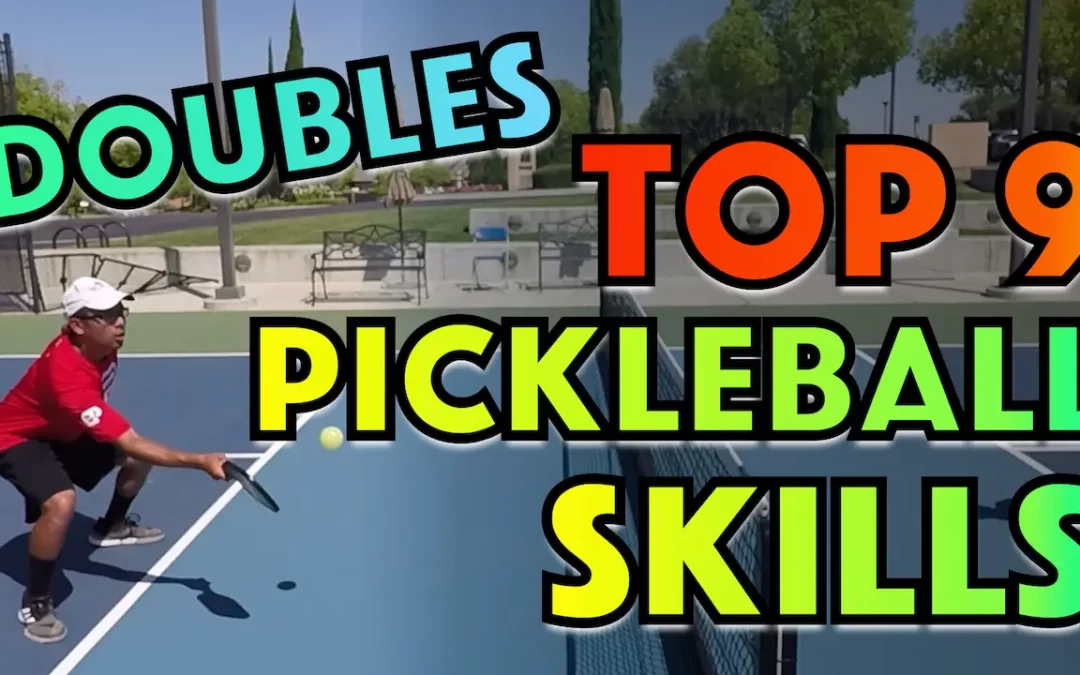
One of the best ways for a pickleball player to improve their game is to learn what is a drop shot in pickleball and how to execute this game-winning delicate shot.
The correct term is actually simply a “drop” but many player’s new to the game do often call it a “drop shot”
Let’s dive in to discover what it is, how to practice and perfect a successful drop, and then how to include this essential shot in your play.
What is the Pickleball Drop Shot?
This critical shot is usually hit from deep within the court. It’s a soft shot, played off the bounce to land in your opponent’s kitchen or non-volley zone (NVZ).
For new pickleball players, these are challenging shots. It takes a high level of skill to achieve the accuracy and placement that makes this a match-winning shot.
Once mastered, the ever-elusive third shot drop will allow you to follow the shot into the net. Thus putting pressure on your opponents and positioning yourself in a strong position for the shot in reply from your opponents.
This advanced shot is often called the 3rd shot drop, as you will often see a drop employed against an opponent’s return of serve (2nd shot). The serve is the 1st shot.
A drop can also be useful to you as a 5th shot, or 7th shot, when your 3rd shot drop attempt wasn’t as good as you had hoped. As the game evolves, it can take several drops for you and your team to successfully advance to the net.
3rd Shot Drop For The Win
However, this all-important third-shot drop is a difficult shot to master. It takes many hours of work to perfect the technique necessary to consistently hit good drops from all areas of the back court and to all areas of the kitchen.
You also want to be able to execute the drop well on both your forehand and backhand side.
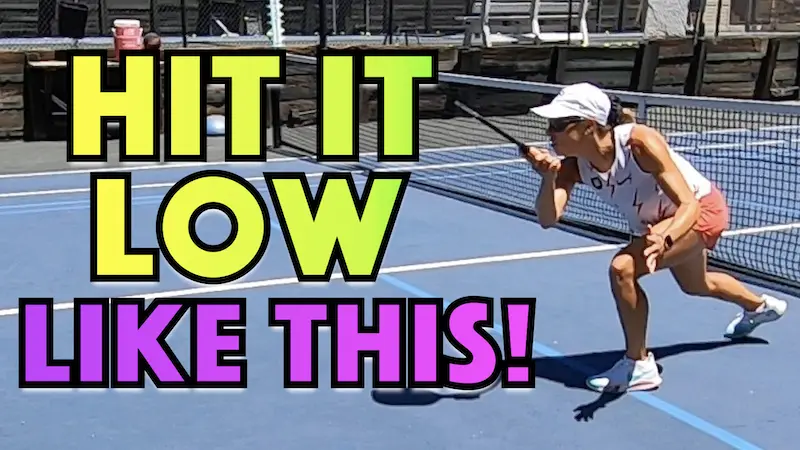
To execute a successful drop shot, you turn your shoulders slightly toward the side on which you will be hitting the ball (forehand vs. backhand)
Set your paddle around thigh hight to the side with a minimal backswing. Connect with the ball when it is ahead of your body and preferable when the ball has had a chance to peak after the bounce.
The aim is to loft the pickleball so that it reaches the top of its trajectory before crossing the net.
Ideally, the ball descends at a downward angle as it crosses the net. The drop lands at or close to your opponent’s feet within the non-volley zone. This trajectory forces your opponent into a low contact and that will allow you and your partner to advance up to the non-volley zone line.
When all four players are at the NVZ line, you have now taken away the advantage from the returning team of being the only team up at the non-volley zone line.
When To Use a Drop Shot
Drops are strategically deployed by an advanced player when their opponent is close to the non-volley line and they are not. This is true in both doubles and singles as well.
However, drops in singles are typically more aggressive (topspin and angles) and passing shots (drives) are mixed in much more frequenlty.
Use a well-executed third shot drop if both you and your partner are off the non-volley zone line and your opposition has taken up a position at their non-volley zone line.
As this is the position that you find yourself in when your opponent returns your serve (the 2nd shot), it is the most popular response because it works.
The so-called third-shot drop is the strategic shot and we will dive deeper on why that is later in this article so read on.
Since you will commonly find yourself in a position where your opponents are on the non-volley line and you are pinned back to the baseline, particularly as the serving team it would be very wise to focus on mastering this shot.
Drop shot accuracy differentiates a more seasoned player from beginner pickleball players.
Not only do advanced players know when to attempt the drop shot, but they also know how to execute this delicate shot.
So, how do you improve to a point where you have a consistent drop shot?
How To Do A Drop Shot In Pickleball?
There are four things to aim for when executing a successful drop:
- The pickleball must reach the apex of its flight trajectory before it crosses the net.
- The ball must be descending as it crosses over the net.
- The ball must bounce within or near the opponent’s non-volley zone.
- The ball must force a low contact point for your opponent and be difficult to attack.
After playing the drop, attempt to get up to the non-volley/kitchen line as quickly as possible.
If you don’t make it all the way, get as far as you can and give yourself enough time to assume as stable ready position for the next shot that will come from your opponents.
Receive your opponent’s shot, hit another drop before continuing forward and completing your transition from the baseline to the non-volley zone line.
Your Body Position When Setting Up the Drop Shot
The basic forehand drop is most easily achieved when you connect with the ball after it has exhausted the majority of its momentum.
You want to do this because it will be easier to time your contact on this slower, gentler shot that requires a lot of accuracy.
Aim to hit the ball when it starts to drop after it has peaked subsequent to the initial bounce. This allows you to more easily control the pace of your drop shot.
You don’t want to take a big swing at the ball either.
So, you bend your back knee and set the paddle low more by your side rather than reaching back behind yoru body.
Get behind the incoming ball so that you can step in and will be reaching slightly forward when connecting with the ball.
Your Grip and Arm Position When Executing a Forehand Drop Shot
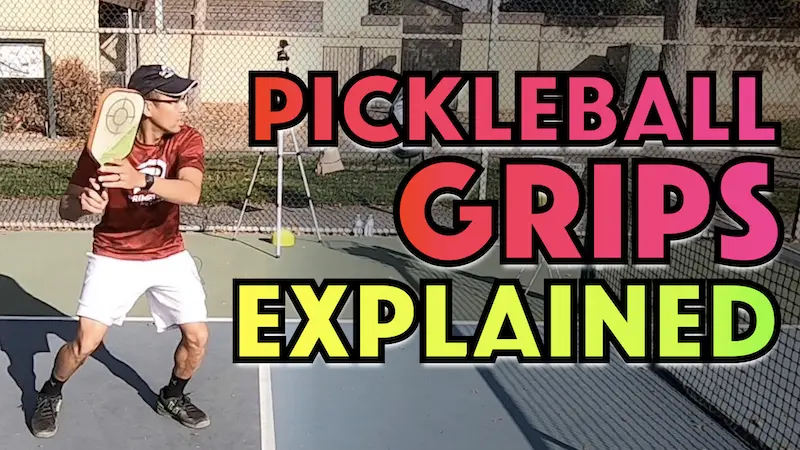
Using a continental grip helps you to position the paddle face up while your arm is pointing down toward a point on the ground just ahead of your feet.
You don’t want a tight grip, but a loose grip will not give you enough control of the paddle. Use a firm grip with only a gentle squeeze and your drop will be easier to control.
Reach forward and engage the shoulder rather than swinging at the elbow. This allows you more control in pushing the ball where you want it to go.
Load on the leg that is on the same side as that with which you are holding the paddle.
Then move your weight forward onto your non-dominant foot (left foot for right-handed players) as you play the shot. You are then able to easily take the next step forward to get moving towards the kitchen.
Your left arm should then counter-balance your right arm and paddle. You do this by keeping it up and in front of your body. This will keep you nicely balanced as you make the shot.
You don’t want to be caught with your weight on your heels. This makes it difficult to control the ball and to get your body moving forward quickly.
Taking Split Steps When Preparing For a Drop Shot
As your opponent is about to hit the ball back at you, take a split step and prepare for the drop shot.
The purpose of the split step is to put you in the most prepared body position, allowing you to deal with whatever shot may come.
Whether moving forward or backward, the split-step is accomplished by making a small hop or step. This allows you to spread your legs shoulder width or more apart. When your feet touch the ground, you do not land and remain static.
You use the landing to bounce off the ground so that you can spring into any direction you need to go.
This allows you the best opportunity to quickly move into position for your drop shot.
So far, we’ve concentrated on the forehand drop shot.
But what about the backhand drop shot?
The Backhand Drop Shot
The backhand drop is similar to the forehand drop in terms of the basic shape of the movement. The main difference is that you lead with your knuckles rather than the palm of your hand.
The backhand drop is made with a low-to-high movement of your paddle.
To get the correct paddle angle, use a continental grip. This is where the “V” between your thumb and index finger lines up with the edge of the paddle.
You want your paddle face open since your are sending it over the net softly and with an arc. Be careful not to apply too high a grip pressure.
You don’t use a swinging motion but rather start with the paddle to the side of your body and moved it forward in a controlled pushing motion.
Your Body Position When Setting Up the Back Hand Drop Shot
As the ball is returned and you see that it is headed towards your backhand side, move to the ball and get your non-dominant foot set well behind the incoming ball and bend you knee.
Turn your shoulders, set the paddle down, step into the shot with your paddle side leg and push your arm through from the shoulder with minimal wrist or elbow movement.
Keep your head down and watch the ball all the way to the face of your paddle.
After playing the drop, if it was good, move quickly forward to the kitchen.
Try the following drills for drop shots to improve your game.
How to Master The Third Shot Drop
To master the drop, you need to practice the proper shot technique from a variety of positions on the court.
To accomplish this, start by feeding to your partner from the baseline. They should be up at the non-volley zone line. Hit a drop from the baseline, then, move forward a step or two after each drop.
The continued movement forward will take you to the non-volley line. Then return to the baseline and repeat this simple drill.
You partner should send you cooperative shots that you can reasonably hit a drop on each time. This is not a competitive drill.
Drop Drill – Key Points To Remember
- Stand at the baseline with your partner up at the non-volley zone line on the other side.
- Feed to your partner and prepare for a drop shot.
- Concentrate on taking a split step at the time your partner makes contact with the shot to help you get into the right position for your drop.
- Keep your head down and your eyes on the ball.
- Use a compact motion. The follow through should be slightly bigger than the take back.
- Push through the ball from your back leg and shoulder in a low to high motion
- Keep the contact in front of you.
- Focus on working your way into the net after each shot.
- Instruct your partner as to whether they can make their cooperative shot a little easier for your or a little more diffucult.
Backhand Drop Shot Drill
Players tend to have a harder time mastering their backhand drop. Here’s a drill that lets you build into it a little bit easier. Rather than starting at the baseline and hitting your from the longest (most difficulty) distance first, you will hit it from the shortest distance first and then work you way back.
- Stand close to the non-volley line and have your partner hit all their shots to your backhand side.
- Hit two backhands in a row, then take a couple of steps back and hit another two.
- Keep repeating this sequence until you have moved to the baseline.
- Move back to the non-volley line and repeat the sequence.
- Concentrate on stepping back quickly so that you can ultimately step forward into each shot.
- Be careful that you do not lean back with your weight on your heels, as you will lose control of the shot. Get yourself balanced between each shot.
- You want to make contact with the ball when it is ahead of your body.
- Be careful not to use a flicking wrist action but rather push through the ball.
Final Thoughts
The secret to making a consistent, successful drop shot is practice and running drills.
Whether you are attempting a backhand or forehand drop shot, position your body so that the ball is hit when it is ahead of your body.
Assume a slightly crouched position when you hit the ball while using a pushing motion. Avoid swinging at the ball or using a snapping wrist action.
Remember to play your drop shot with a smooth, pushing motion. Rotate your arm from the shoulder, not the elbow or wrist.
Even though this is a soft shot, use your legs to control the shot. This will allow you to keep your upper body more quiet and have a stable drop.
