In today’s blog we’re going to talk about the fourth shot which is a very important shot that doesn’t get talked about that often.
The fourth shot is going to be hit by the returner after they hit their return and they’re making their way, transitioning, from the baseline to the non-volley zone.
The goal of the returner is to hit that return and have a good position up at the non-volley zone, right up at the net, trying to keep pressure on the opponent that’s hitting their third shot.
You’ll notice that more often than not you’re not always going to be right up at the line with your toes at the line. Sometimes you might only make it several feet behind the none volley zone line. It will really depend on the speed and arc of your return.
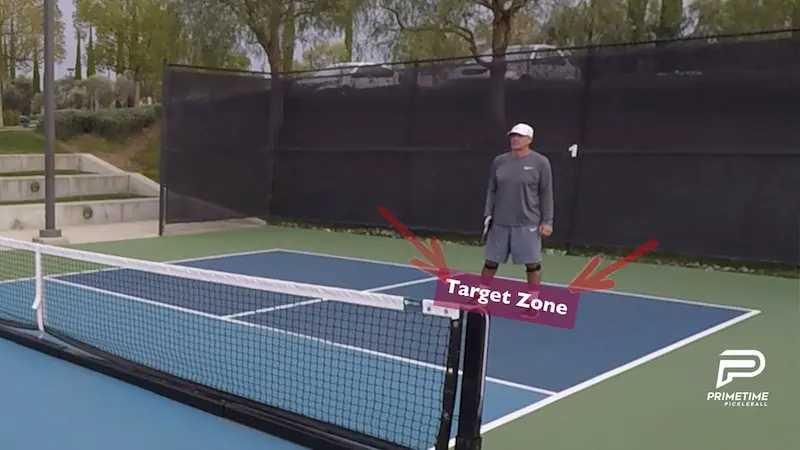
It’s important to note that the target for your fourth shot could be moving. This is because after your opponent hits their third shot (they could choose to drive it or drop it) they may decide to come up closer to the non-volley zone line.
If they decide to come up you want to use your peripheral vision and aim at their feet as they move up to the net. If your opponent chooses to stay at the baseline than you want to hit it deep at their feet.
As your opponent hits their third shot, whether it’s a driver a drop, you should be looking where they are on the court as the ball comes over.
Hit towards the feet whether it’s on the forehand or backhand side. Hit it towards either side as long as it’s away from the body. The main idea is to keep it low, below or at your opponent’s knees. Keep the pressure on them.
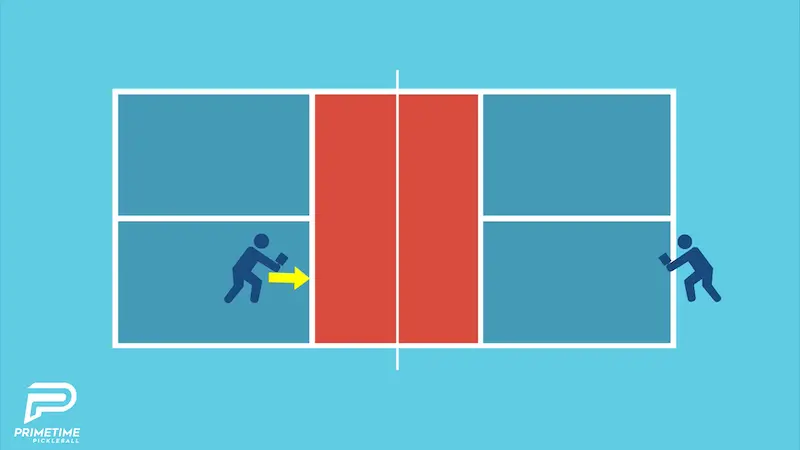
In the drill you can use to practice, you will play out the point on half the court.
The person who’s hitting their third shot is going to do their best to hit a drive or a drop.
As we mentioned, it will depend on the arc and speed of your return how fast you will be able to get to the net.
Try to give some hard returns and even some high ones.
Try to get those practice shots returning at the senders feet. Keep them low, below or at knee level.
Remember to use your peripheral vision as your opponent is coming up. Try to find their feet and make them either stretch to their forehand or backhand.
What we also like about this drill is that it’s a great workout.
However, if you find that the repeated sprint from the baseline to the non-volley zone line is too physically demanding then you can feed a shot that simulates a return from closer to the non-volley zone instead.
This way, the distance you have to cover each time you run the play is shorter and less taxing on your body.
We hesitate to recommend starting from right up at the non-volley zone line because one of the key components of the forth shot is to correctly establish your weight under you before you hit the shot.
These events getting your weight under you, followed by hitting the shot, are happening adjacent to each other. One immediately follows the next which feels, and is very different, than starting from a static position up at the non-volley zone line.
By starting at the non-volley line it just wouldn’t be the same. This is why we recommend the lead into the fourth shot be from a further back position, whether that be all the way back at the baseline, mid-court or even a bit closer.
In all cases remember that the player that is going to be hitting the fourth shot feeds the ball and the feed should simulate a return.
Like we said this is a great drill that you can do with a partner to work on that fourth shot. Make sure you’re aiming at knee level or below trying to make them reach to their right or to their left. Try to make them stretch because that’s a very difficult spot to control the ball.
Go out there and keep practicing. If you do so you could see some good results in your game.